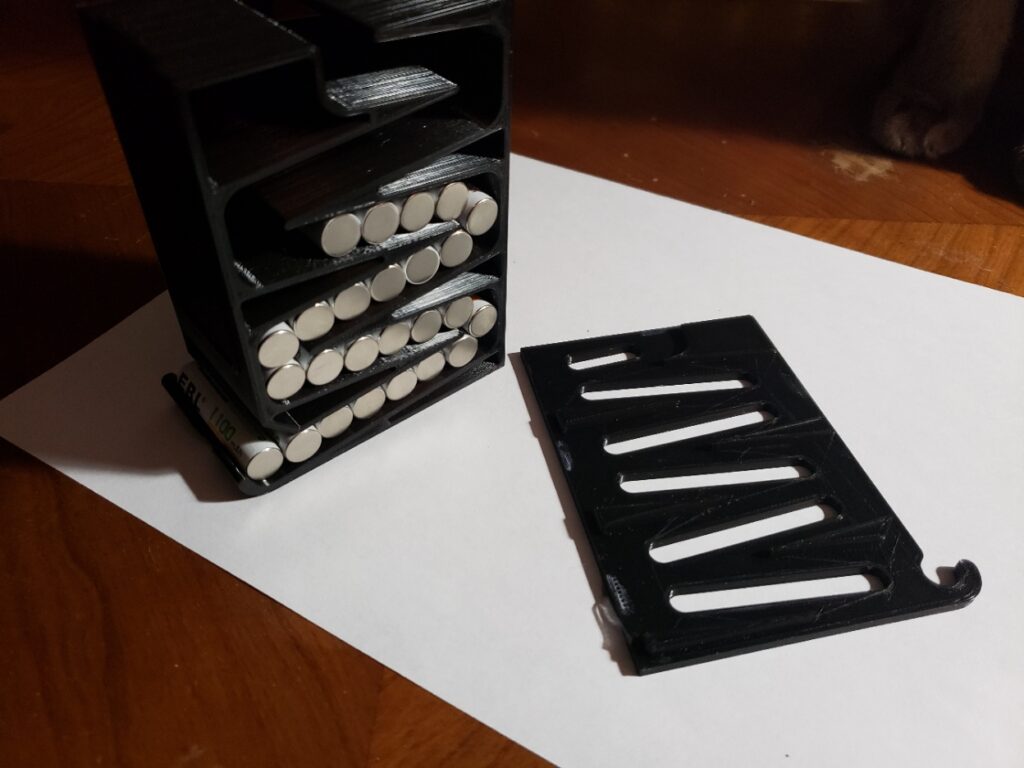
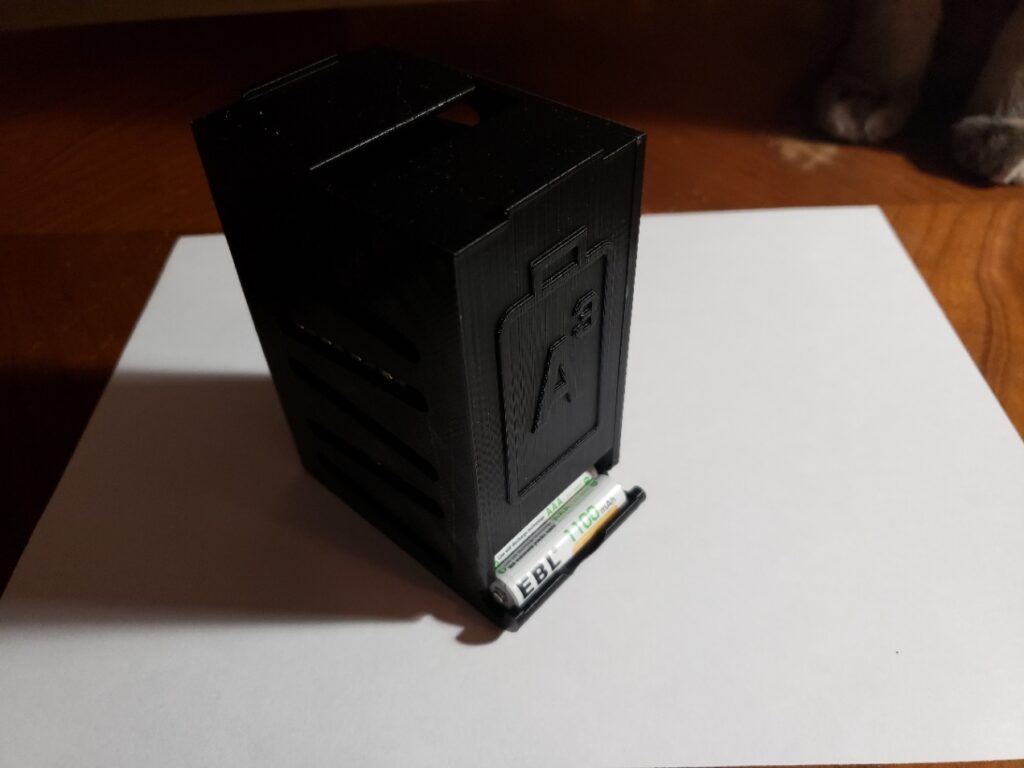
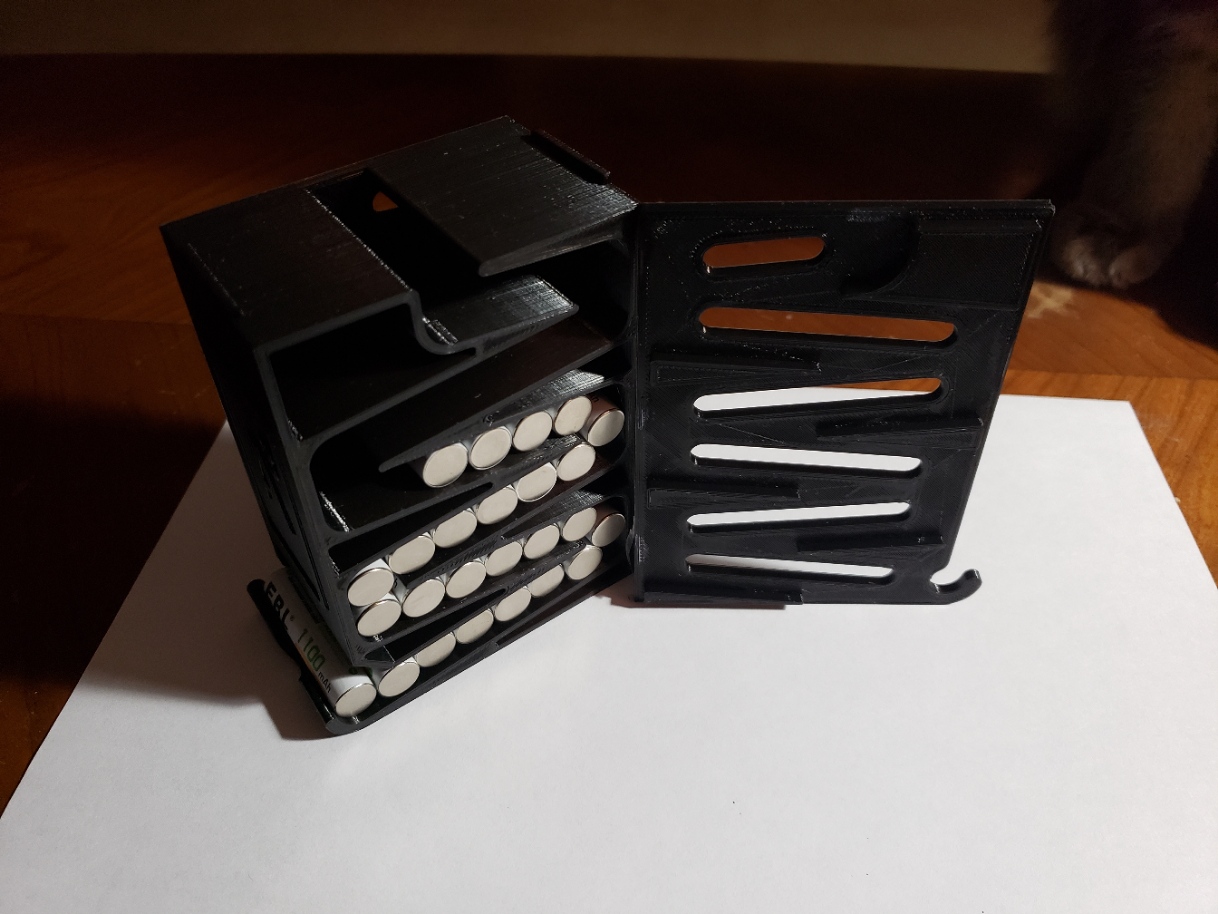
So from yesterday, we were discussing how to rotate your AAA batteries when you’re changing them out. While I love the idea of this item, it really doesn’t work as cool as it looks, if the battery slide is empty and one has to slide all the way down it tends to get sideways and you have to open/shake it around to get it where it needs to be. The cover doesn’t fit right either, just not tight enough. But despite the lack of a wow factor, it does the job we need it to in that if you put your dead batteries in the top, they will properly rotate assuming you take from the bottom to full the charger.
Category: 3D Printing
-
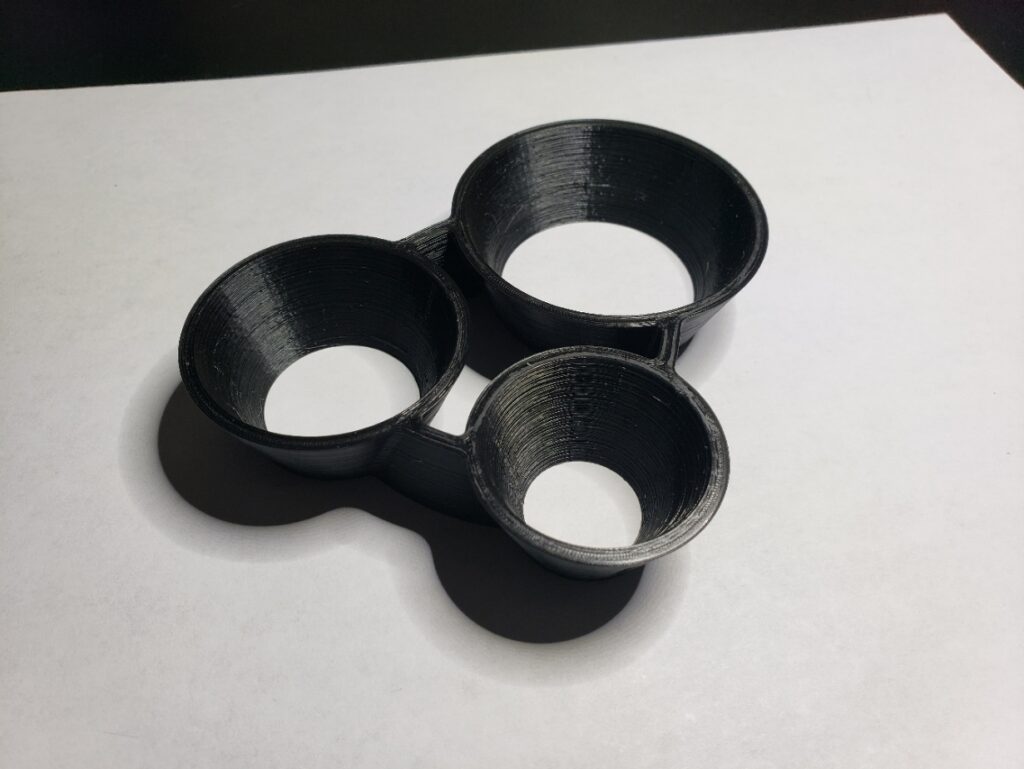
3D – Print – Spaghetti Portioner
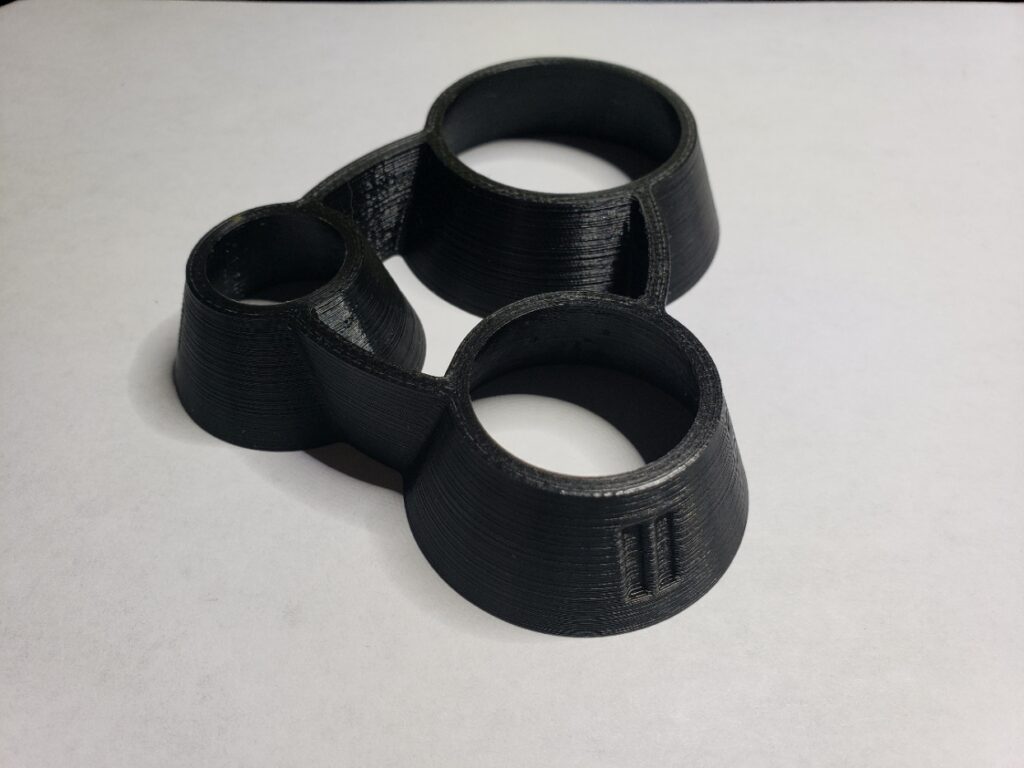
I’m a lover of science and being able to control portions is key to culinary success. I probably have an issue, I’ve been known to weigh out my pasta to make sure that I have the correct amount. Oh well, there are worst vices to have. In any case I saw this and decided to print it, the holes are the amount of dry spaghetti pasta you would use for 1, 2 or 4 servings. Yeah it’s a unitasker but it’s 25 cents worth of plastic and 2 hours of print time so I’ve got one:)
-
3D – Skirts, Brims & Rafts
So one of the things very important to printing success is the plate adhesion methods. These are known as skirts (think hoop skirts), brims (the brim of a bowler derby) and raft (what Huck Finn floated on). Here’s my take on them.
- Skirt – This really doesn’t have anything to do with plate adhesion. It draws a line around the print object before it starts printing. This has no connection to the print job. Think of this procedure as priming the pump, it lets the plastic flow freely and starts the print job smoothly. Recommended regardless if you need extra adhesion.
- Brim – This is a base that is attached to the project and adds extra support for skinny/tall jobs that are prone to moving the taller they get. Set the diameter and thickness and know you’ll have to cut this ‘slag’ off but your print job will work.
- Raft – Basically builds a raft which your project is printed on. This should never be used as if you have to do this there’s something wrong with your plate and you need to fix that.
-
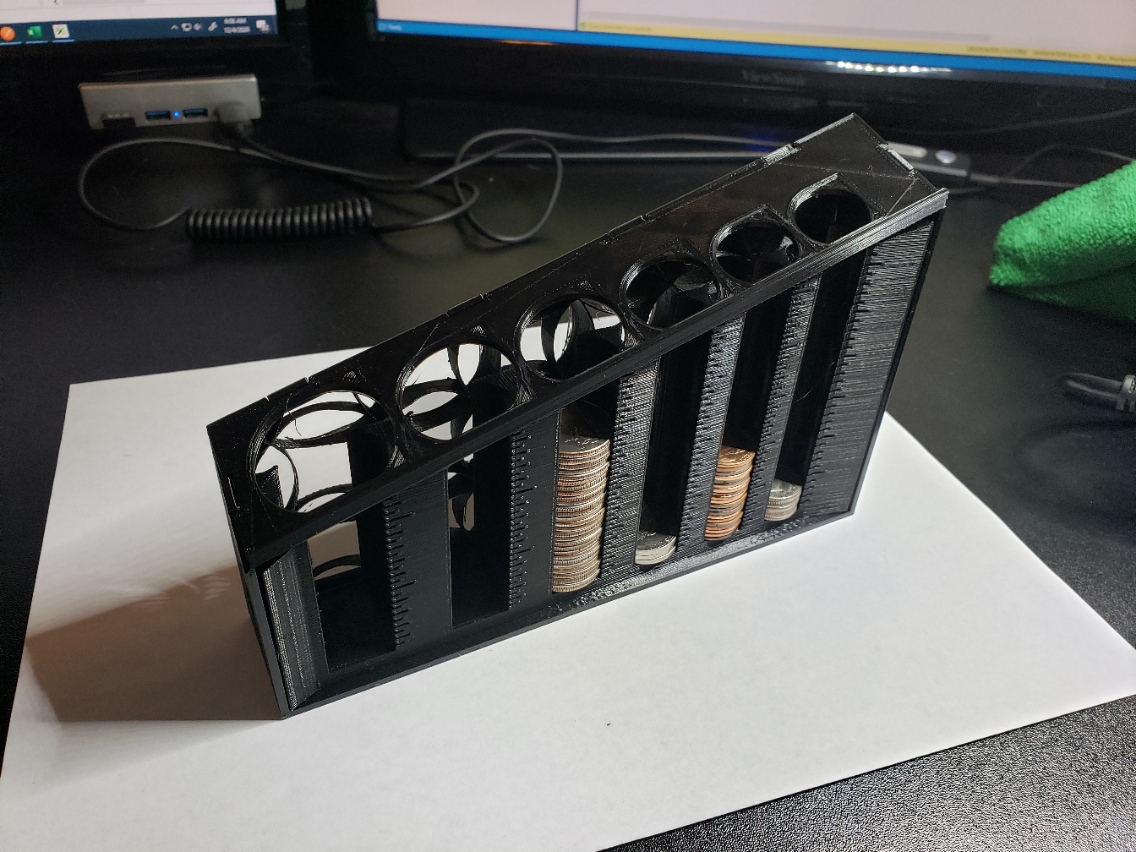
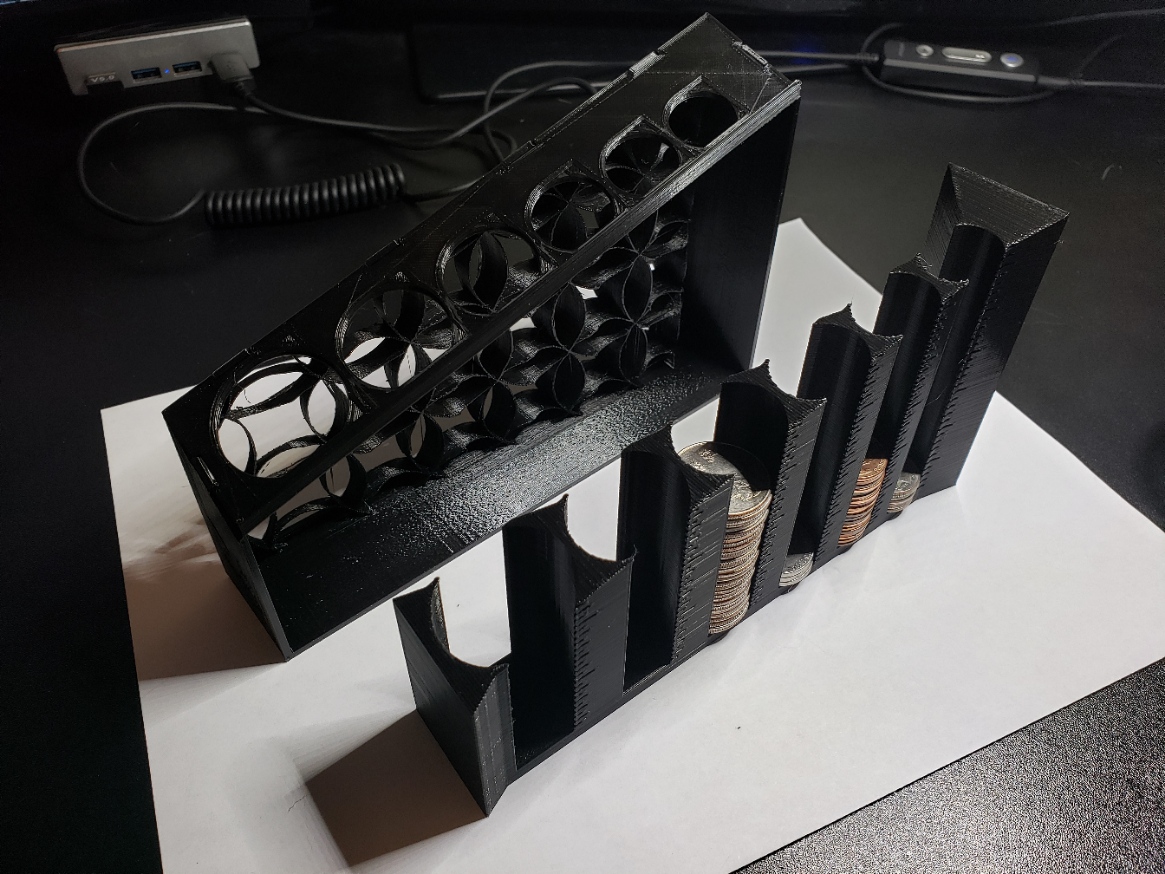
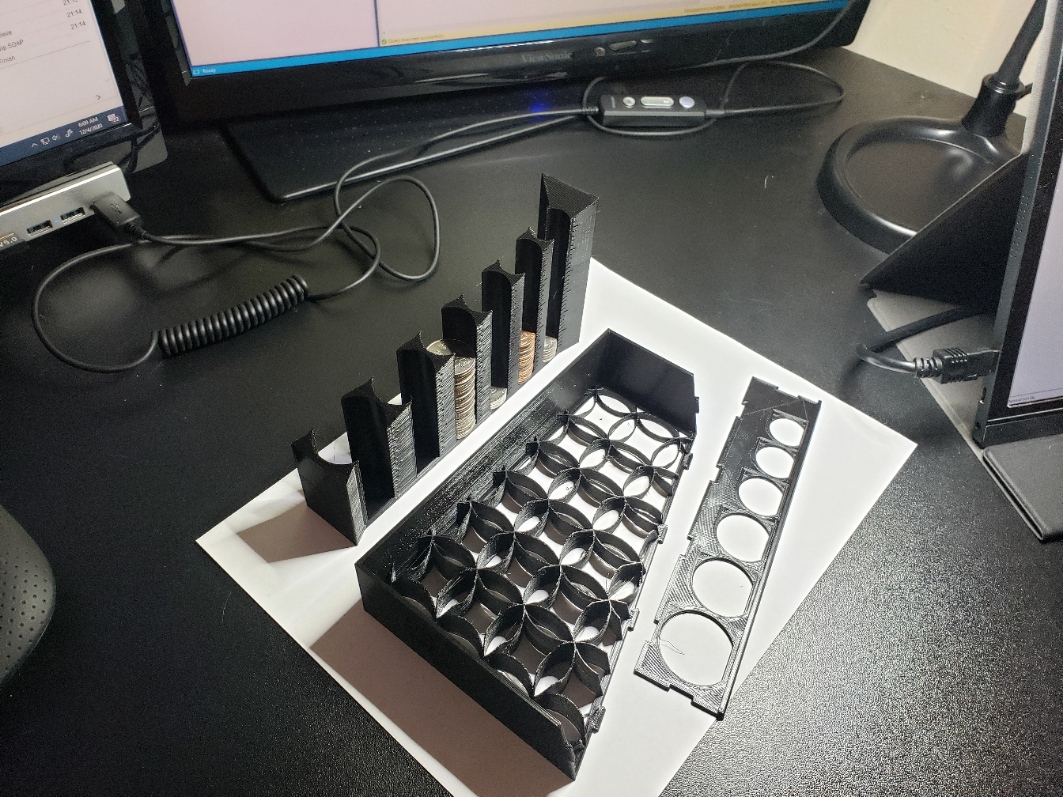
3D – Print – Coin Sorter
This is by far the biggest print job so far, almost 6 hours each for the base and the tubes, the top tray was only about an hour. As someone who’s trying to get rid of the little junk in life, this 3D printer is apparently a step in the wrong direction.
-
3D – Print – PPE Helpers
So one of the nice things about having a 3D printer is that you can print useful things, unlike a 2D printer which is good for paper airplane graphics. Ha ha…
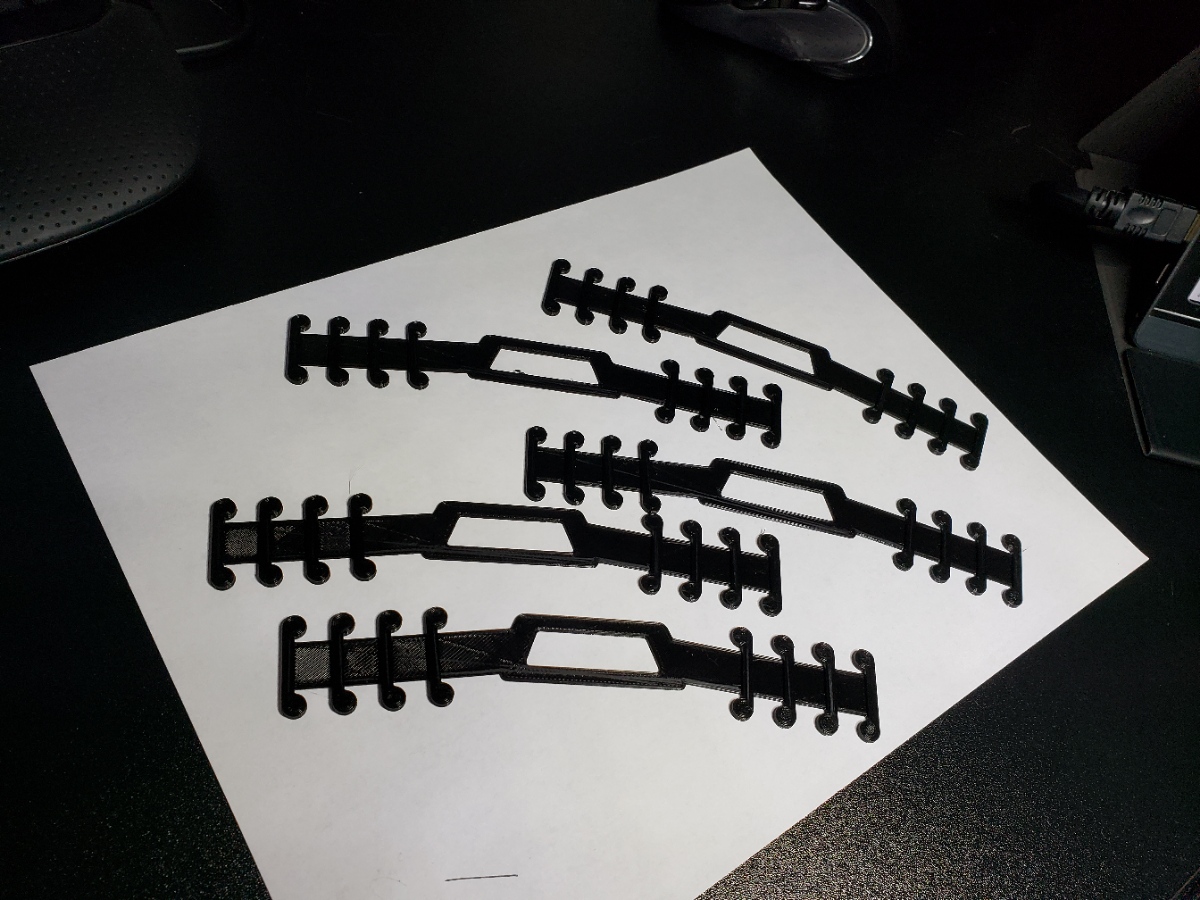
In any case one of the first things I printed were mask nose guards that prevent your mask from steaming up your glasses. They seem to work very well. Then my sister asked about the ‘ear saver’ mask holders so I found those and printed off several for her to check out. It’s nice to be able to help with little things like this. -
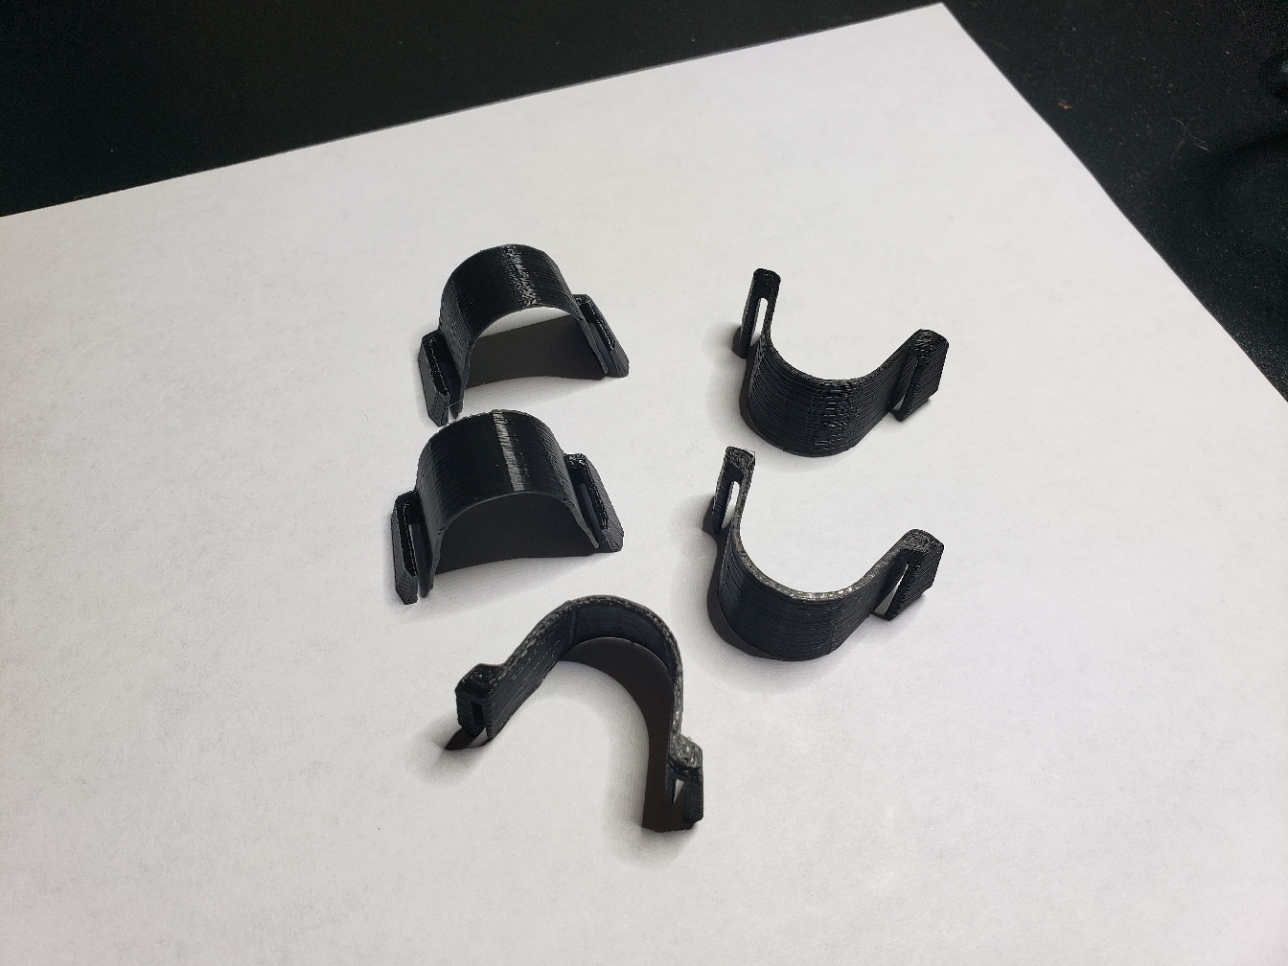
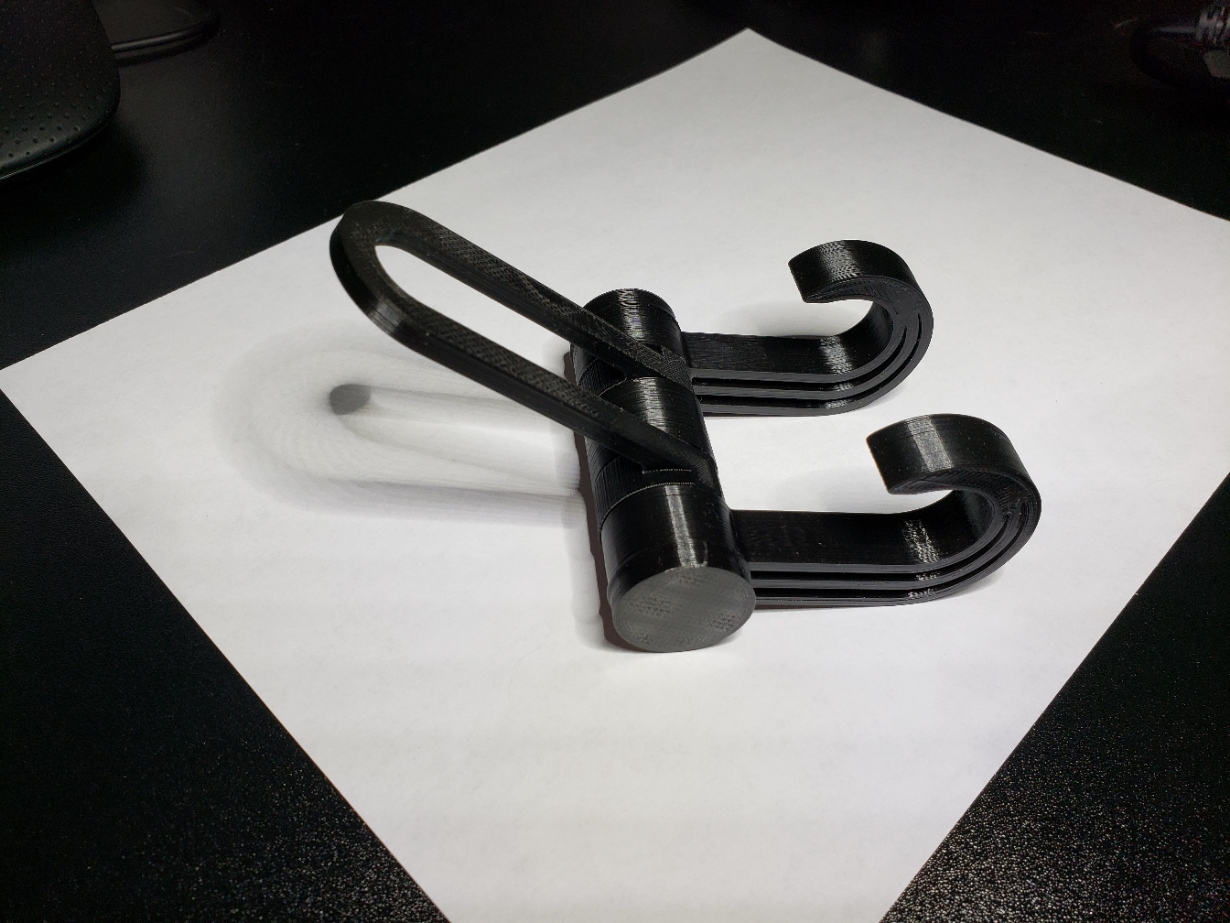
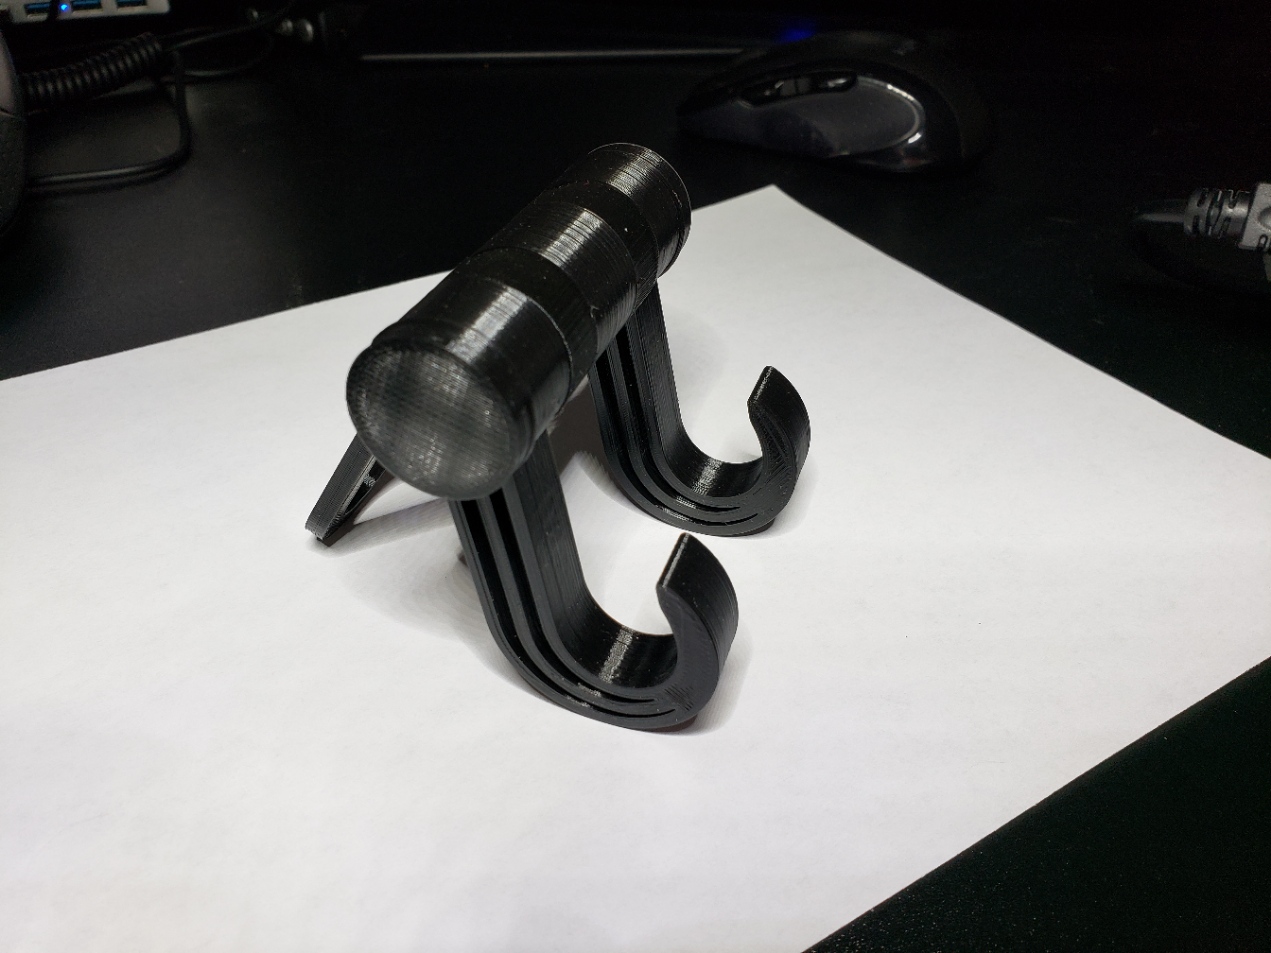
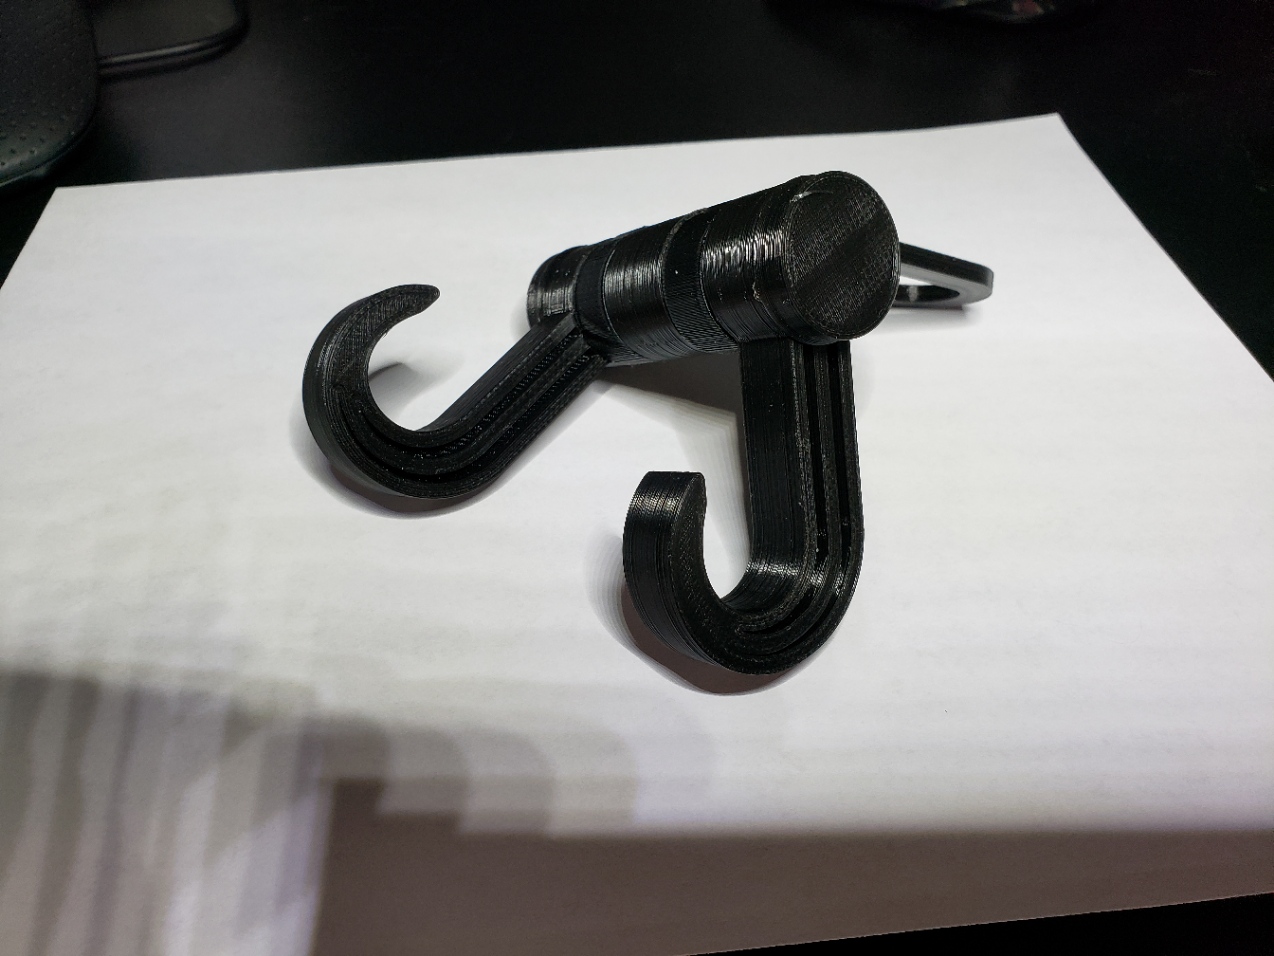
3D – Print – Seat Back Hooks
This is my favorite so far! Primarily because although I’ve had the Xterra for about 8 years now, the back is solid plastic and there isn’t anything to keep things from sliding around, more than once I’ve made it home from the grocery store with the bread a casualty of a sliding case of ice tea. These hook on to the headrest posts of the back seat of the Xterra and provide me hooks to hand the bags on for a safe and uncrushed ride home.
-
3D – Important FYI
I’ve finally gotten the printer to play nice. The key to this is in the software that you use to ‘slice’ the 3D diagram. This is very specific to the printer and manufacturer. It is immensely important that you follow the directions for setup. In my case I’m using Ultimaker Cura. Knowing next to nothing about 3D modeling software this is just what came with the system, do yourself a favor and go find the latest version, it did not ship with it guaranteed. This Cura software is open source and seems to be well developed so I’m rather happy with it. I still need to find some tutorials to learn to use it, for the most part I’m just finding stuff to print but the goal is to be able to create stuff to give back to the community as well as print stuff I need.
My particular printer can hook up to a computer but recommends putting the file on a SD card and sneaker netting it over to the printer. I’m honestly fine with this for the most part but it does bring up an interesting observation. Everything that happens after you push the print button on the unit is defined in this file, print temperature, bed temperature, flow rate, X, Y, Z positions… EVERYTHING. This should reaffirm the first paragraph in that you mush have the software setup properly so that it has all the settings that your printer has. Just do it!
So let’s look at file types. When you’re hunting print objects, you will find them (mostly) as .STL files (stereolithography). STL has several acronyms such as “Standard Triangle Language” and “Standard Tessellation Language”. This file will be opened with the above mentioned software and then converted (sliced) to a *.gcode file that is specific to your printer. This is the file you select to print.
-
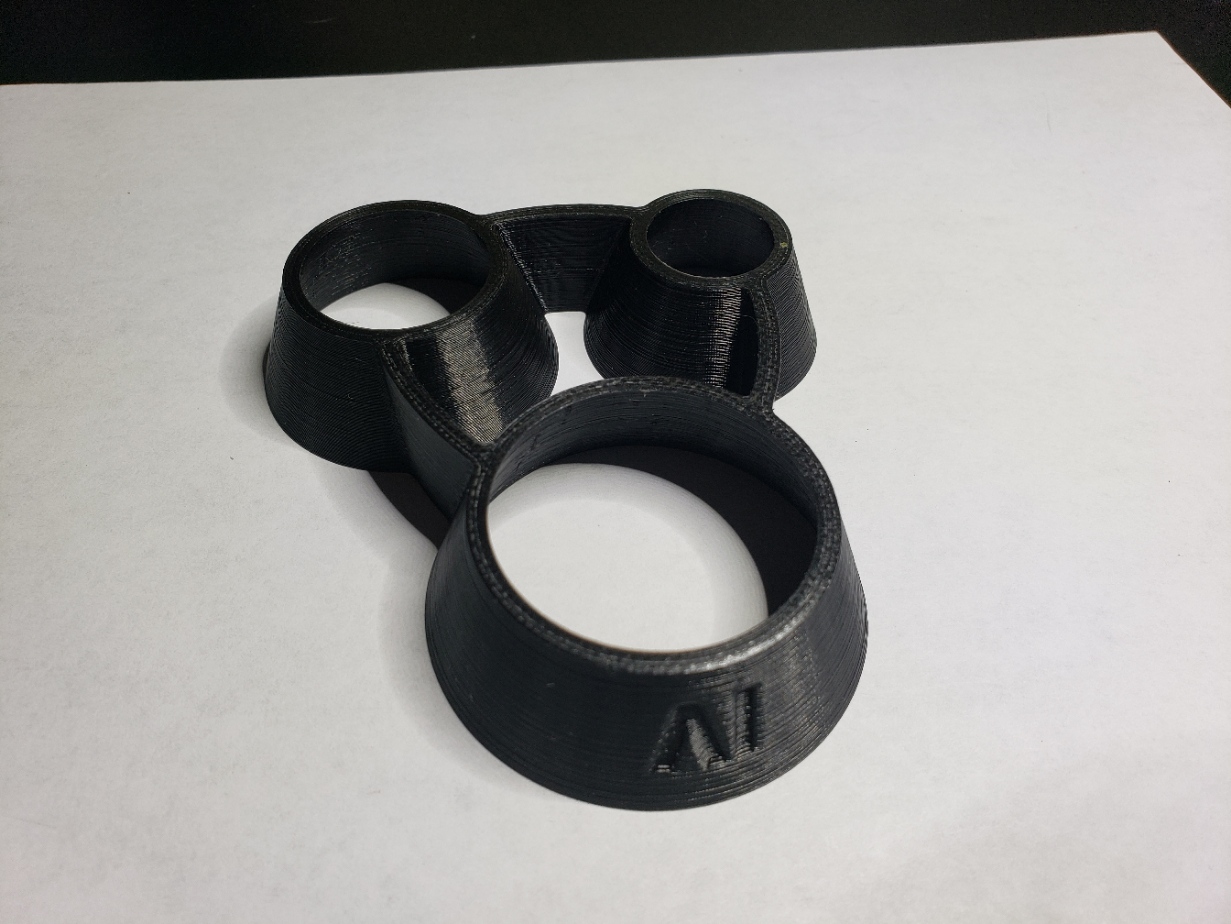
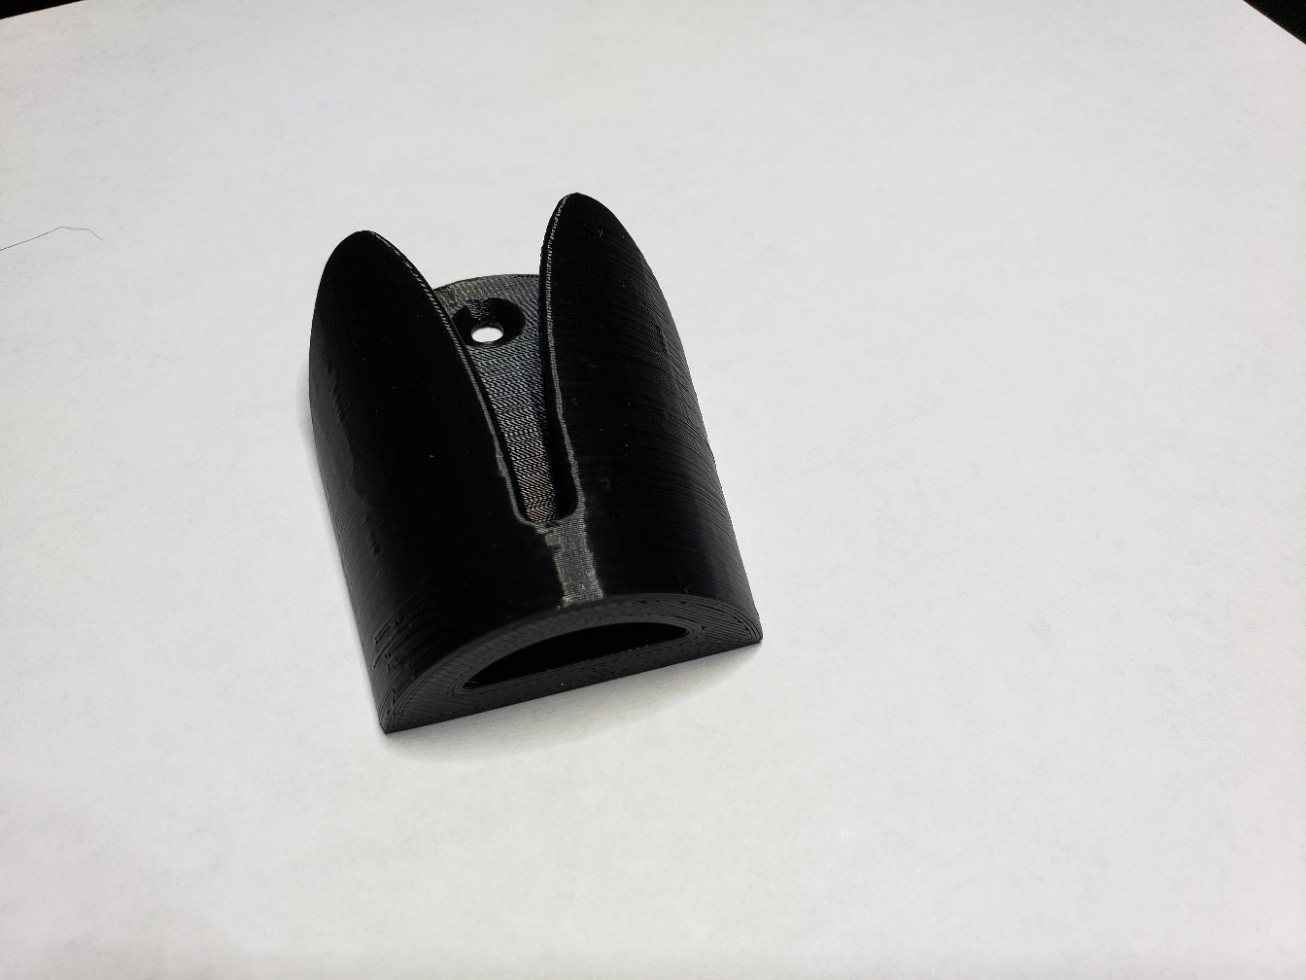
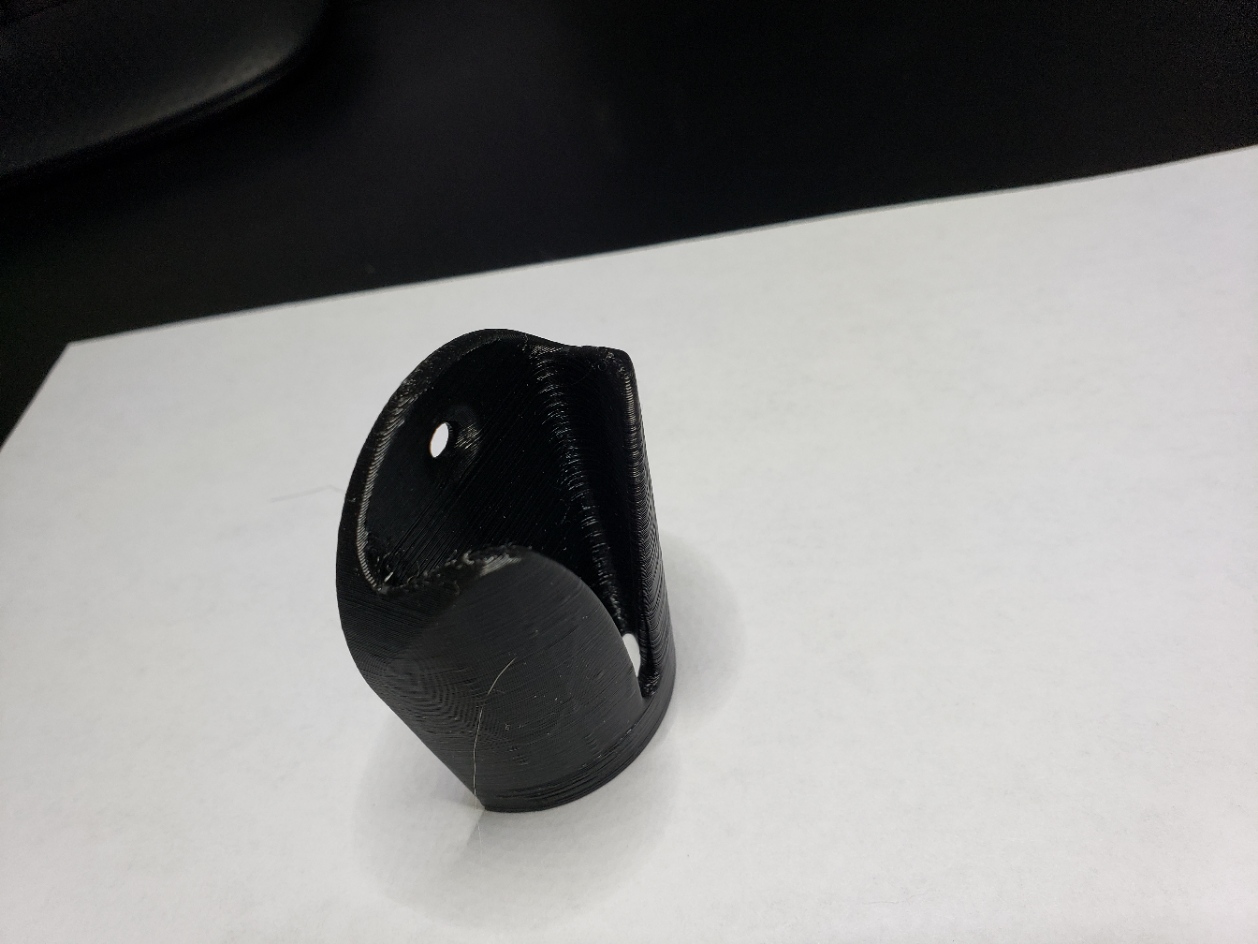
3D – Towel Holder
Trying to get the hang of this 3D printing and this seemed simple enough, it’s a towel holder that I was thinking about using in the RV. It seems to work well enough an they’re small enough that you could use three and hang more towels than you’d need in that small of a space. The printer is a little wonky, I’m still trying to take in all that’s involved, seems to have a lot to do with the level, always the level.
-
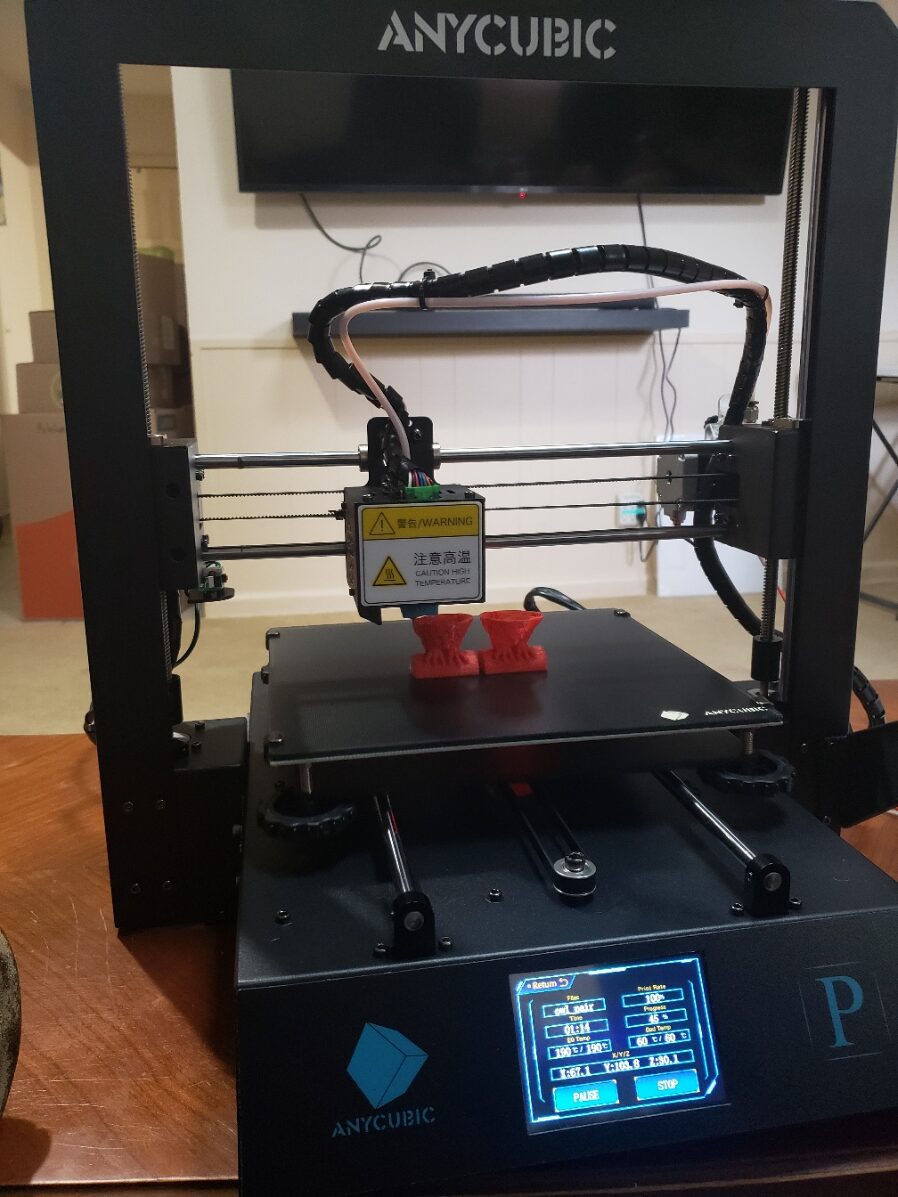
3D – Initial Print
So after you get the printer assembled, it’s time to test print. Here is your introduction to print bed leveling. This is probably the most important part of setting up the printer, and get used to it, aside from the initial adjustment, you will be doing a lot of this leveling thing so get used to it. I don’t know that I will ever buy another printer that doesn’t have auto leveling.
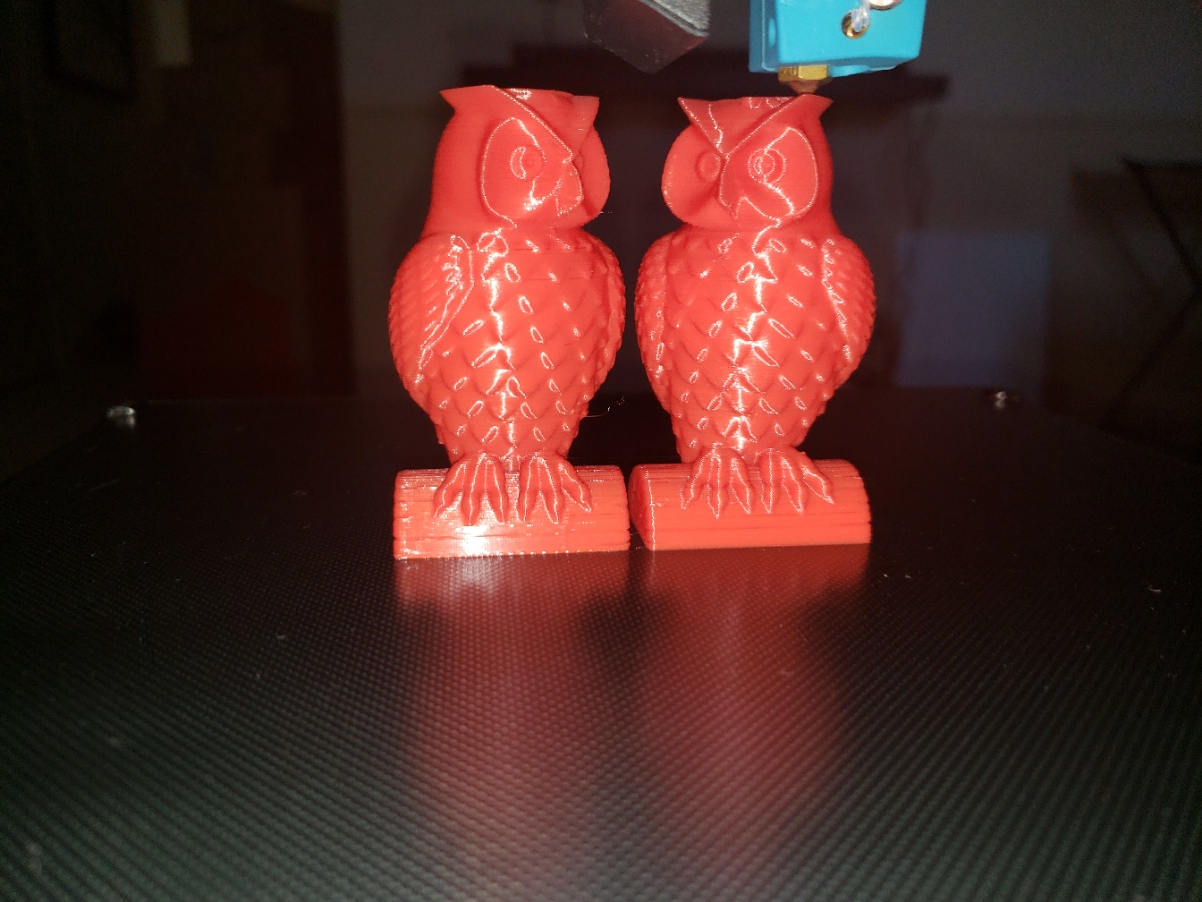
After leveling, we test print. There was enough filament to print the owl pairs which were provided with the memory card. This took a couple of hours but they came out nice and did a good job showcasing what it can do.
-
3D – Printer
So I broke down and got a 3D printer. I didn’t do as much research as I should have and I should have shopped around a bit more because it seems to have gone on sale since I’ve unpacked mine, but different company and there would have been shipping so sour grapes.
I settled on the AnyCubic Mega Pro from Amazon for $369, as I said I should have waited as it’s on sale for black Friday for about $50 less. Out of the box it was an easy setup, basically just install the upright portion and plug in some plugs. Then the real fun starts.
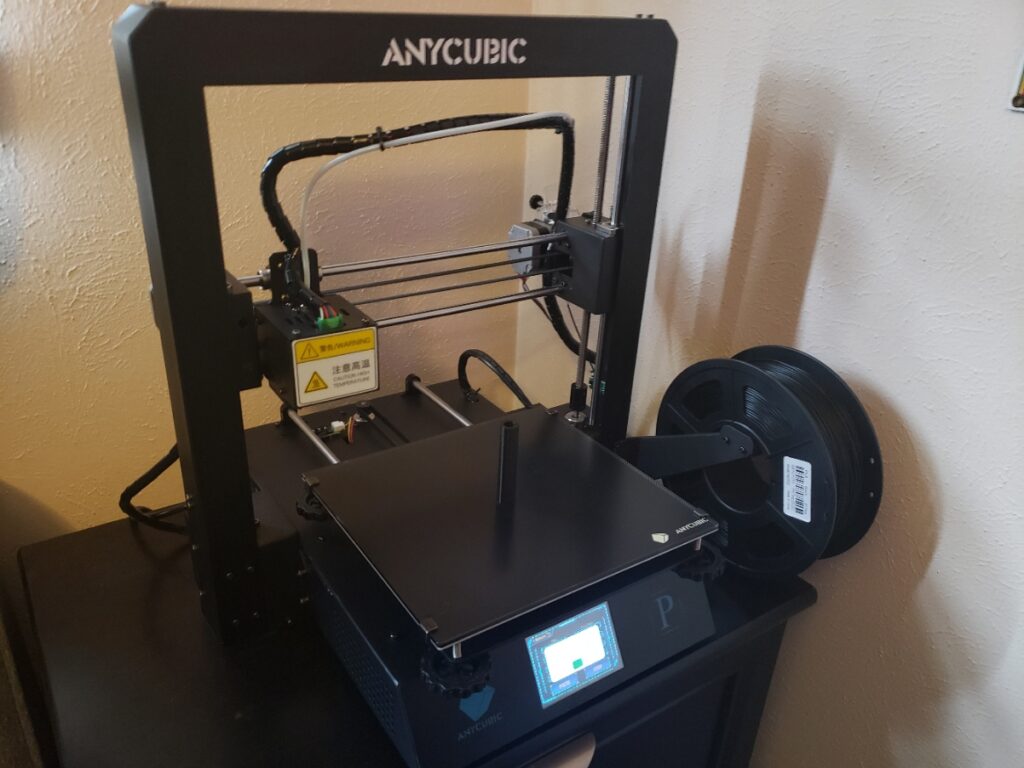
AllCubic Mega Pro